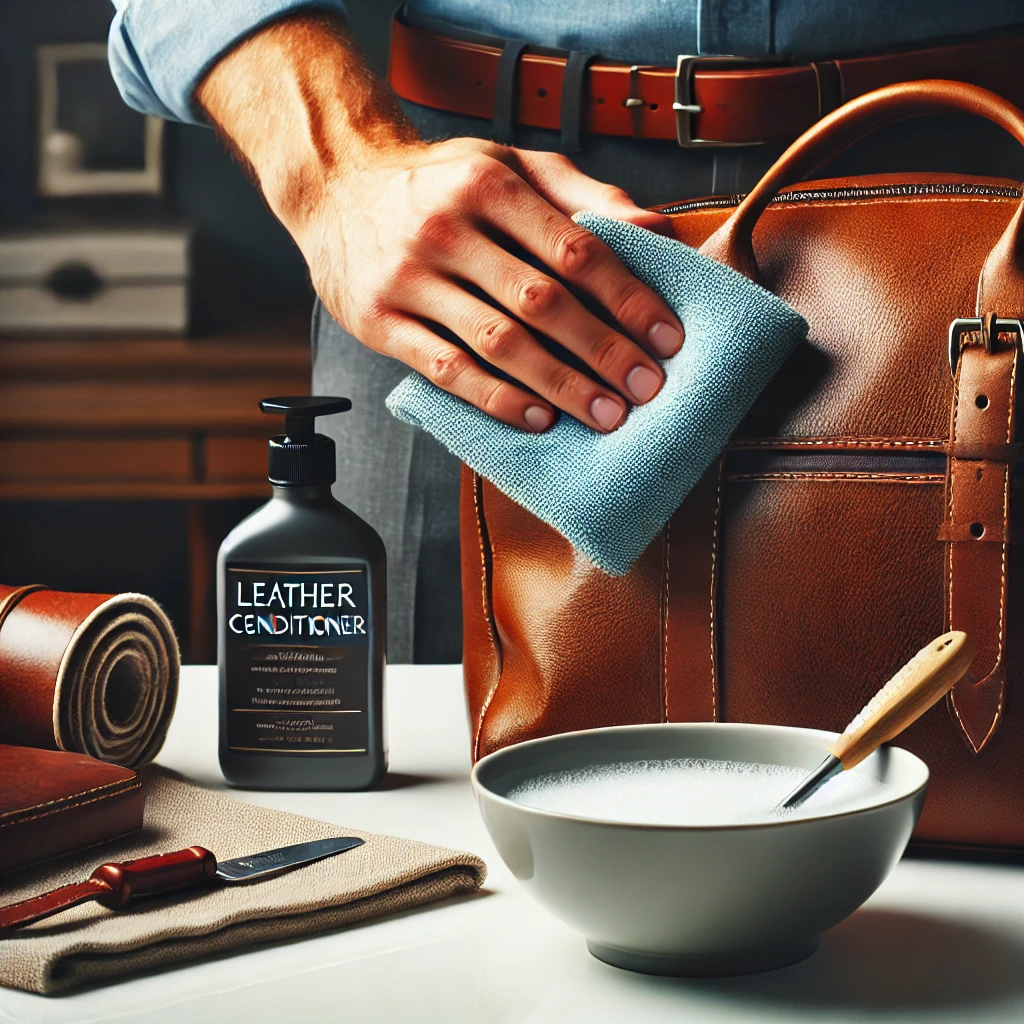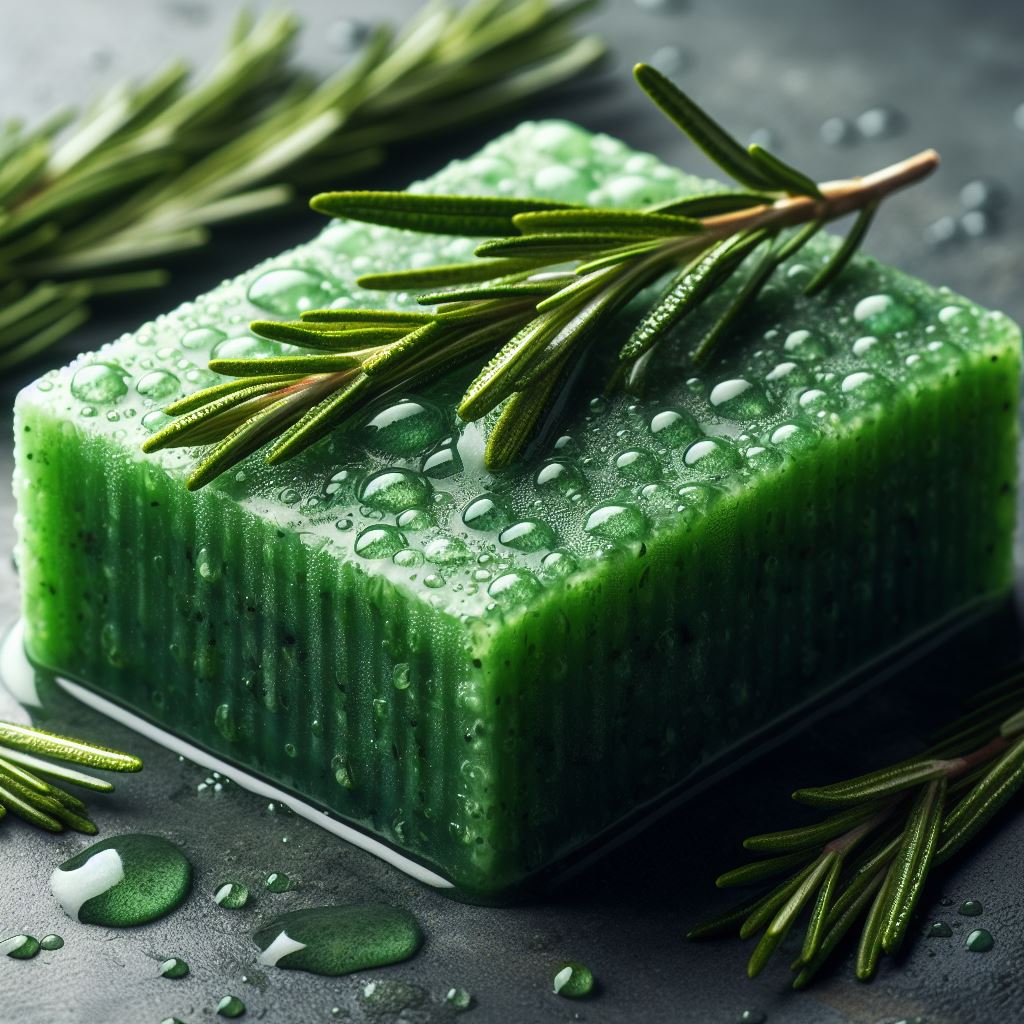
Rosemary has long been cherished for its aromatic fragrance and numerous health benefits. From culinary uses to skincare, this versatile herb adds a touch of nature’s goodness to our daily lives. One popular way to incorporate rosemary into your skincare routine is by making your DIY rosemary soap. Not only does it offer a refreshing scent, but it also brings forth the therapeutic properties of rosemary for your skin. Let us create a batch of soothing and nourishing rosemary soap.
Benefits of Rosemary in Skincare
Before diving into the DIY process, explore why rosemary is a fantastic addition to your skincare regimen. Rosemary is rich in antioxidants and antimicrobial properties, making it an excellent choice for cleansing and rejuvenating the skin. It helps to:
- Combat Acne: Rosemary’s antibacterial properties can help reduce acne-causing bacteria on the skin, leading to clearer and healthier-looking skin.
- Soothe Irritation: The anti-inflammatory compounds in rosemary mild redness and irritation. It is best for sensitive skin types.
- Promote Circulation: Rosemary is known to stimulate blood circulation, which improve skin tone and overall skin health.
- Antioxidant Protection: The antioxidants in rosemary protect the skin from environmental damage and premature ageing.
Ingredients You’ll Need
Before starting your DIY project, gather the following ingredients:
- Rosemary Essential Oil: Provides the signature scent and therapeutic benefits of rosemary.
- Olive Oil: Nourishes and moisturizes the skin.
- Coconut Oil: Adds lather and cleansing properties to the soap.
- Lye: Essential for saponification, the process of turning oils into soap.
- Distilled Water: Used to dissolve the lye.
- Dried Rosemary Leaves: Optional for exfoliation and visual appeal.
- Soap Molds: Choose moulds of your preferred shape and size.
- Safety Gear: Gloves, goggles, and long sleeves to protect against lye.
Step-by-Step Guide DIY Rosemary Soap
Creating soap is an enjoyable and environmentally friendly method to craft a personalized, natural version of a product we use daily. Initially, the complexity of materials and procedures required for soap making might seem overwhelming. For beginners intrigued by cold-process or hot-process soap making, the main concern is working with lye, which can be a significant deterrent. Here is a step by step guide to create rosemary soap at home.
Step 1: Safety First
Before you begin, wear the necessary safety gear, including gloves, goggles, and long sleeves. Work in a well-ventilated area and keep children and pets away from the workspace.
Step 2: Prepare Your Workspace
Clear a flat surface and gather all your ingredients and equipment. Mix the oils and lye solution in a heat-resistant bowl on the surface.
Step 3: Mix the Oils
In the heat-resistant bowl, combine:
- 400 grams of olive oil
- 200 grams of coconut oil
Gently heat the oils until they reach around 100°F (38°C). Remove from heat and let cool slightly.
Step 4: Prepare the Lye Solution
In a separate container, carefully mix:
- 135 grams of lye
- 300 grams of distilled water
Add the lye to the water slowly, stirring continuously. Be cautious, as this mixture will release heat and fumes. Allow the lye solution to cool to around 100°F (38°C).
Step 5: Combine Oils and Lye
Once both the oils and lye solution have cooled to the desired temperature, slowly pour the lye solution into the oils while stirring gently. Use a hand blender to mix thoroughly until the mixture reaches a trace, resembling a thin pudding consistency.
Step 6: Add Rosemary Essential Oil and Dried Leaves
Add:
- 30-40 drops of rosemary essential oil
- One tablespoon of dried rosemary leaves (optional)
Stir the mixture to distribute the essential oil and dried leaves evenly.
Step 7: Pour into Soap Molds
Carefully pour the soap mixture into your chosen soap moulds. Tap the moulds gently on the counter to release any air bubbles and smooth the surface of the soap.
Step 8: Cure and Unmold
Allow the soap to cure in the moulds for 24-48 hours. Once cured, unmold the soap and cut it into bars of your desired size.
Step 9: Let the Soap Cure
Place the cut bars of soap on a drying rack in a cool, dry place. Let them cure for 4-6 weeks, turning them occasionally to ensure even drying and hardening.
Step 10: Enjoy Your Homemade Rosemary Soap
After the curing period, your DIY rosemary soap is ready to use! Enjoy the refreshing scent and skin-nourishing benefits of your handmade creation.
Conclusion
Making your own DIY rosemary soap is a fun and creative project and a way to pamper your skin with natural ingredients. Create a luxurious soap that cleanses, soothes, and rejuvenates your skin by harnessing the power of rosemary essential oil and other skin-loving oils. Incorporate this herbal beauty into your daily skincare routine and experience the wonders of DIY natural skincare.